Replace a Backpack Zipper: Easy DIY Guide
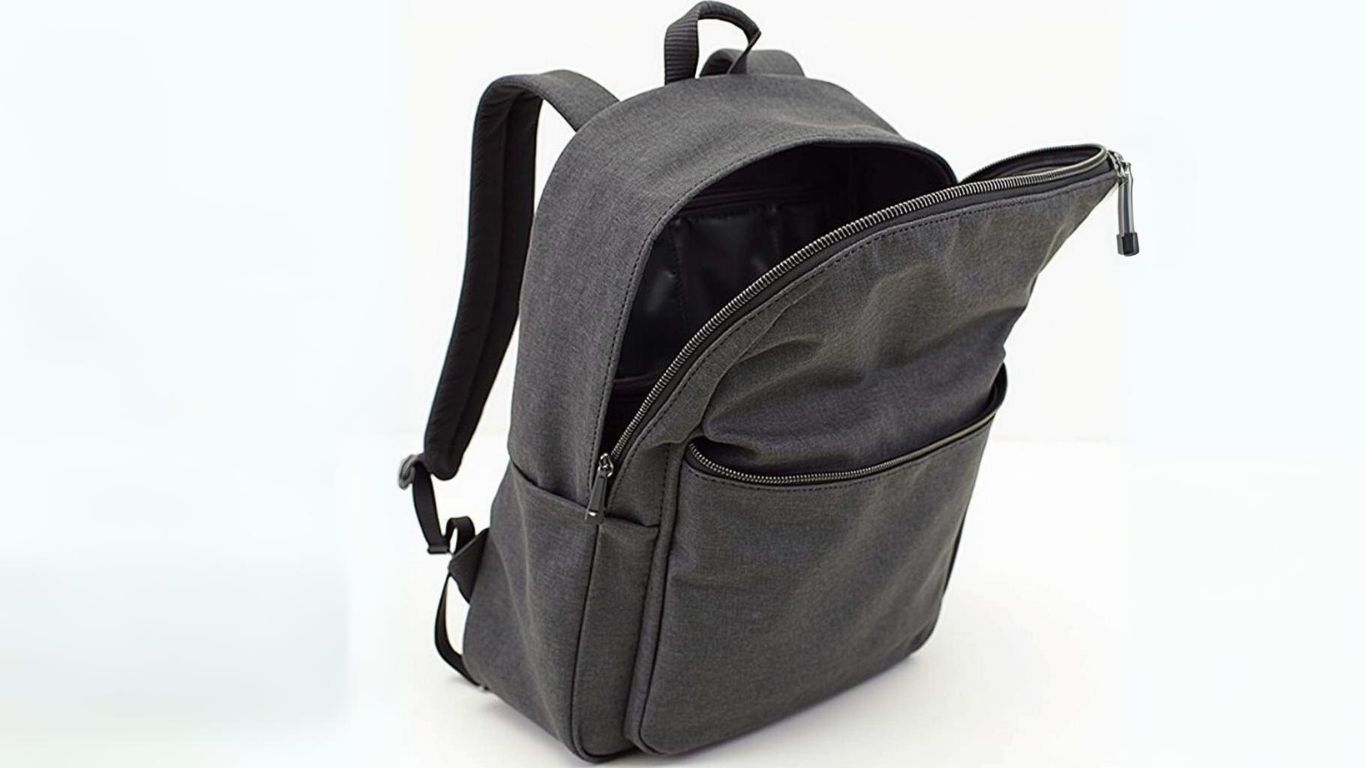
Again, is there a broken zipper on your favorite backpack? Seeing your backpack like this is frustrating, mainly when you rely on it daily for school, work, or travel. While it might seem like the end of the road for your bag, replacing a zipper is easier than you can think. It can save you the cost of buying a new one.
A broken zipper can make a useful backpack unusable. With just a few basic tools and a little patience, you can breathe new life into your backpack and keep it in action. In this guide, we will take you through the entire process, step by step of how to replace a zipper on a backpack.
Things you need
Before diving into the process of how to replace the zipper on a backpack, we will need to gather the following materials:
- Sewing machine
- Replacement zipper
- Sewing needle
- Thread (preferably polyester)
- Seam ripper (to remove old zipper)
- Scissors
- Measuring tape
- Pins
Now that we have everything to replace the broken zipper with a new one, we will move towards the actual process.
Step 1: Assessing the Damage
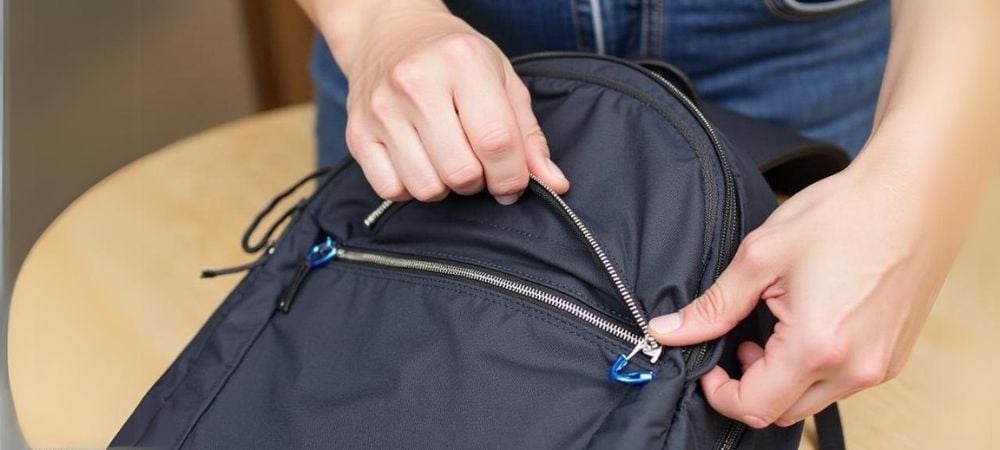
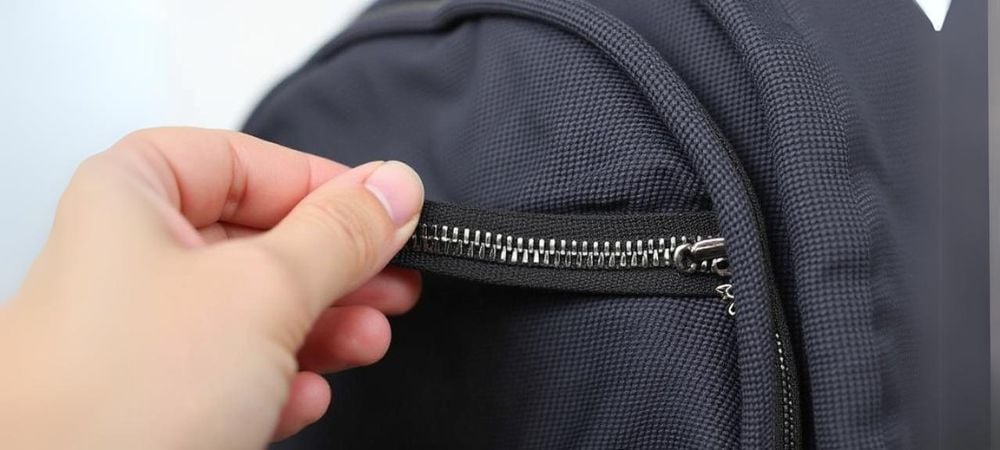
It is an important step that most people usually neglect. Before jumping into the repair, take a minute to assess what part needs to be replaced. Is it the entire zipper or just part of it, like the slider?
In many cases, you just need to replace the slider instead of changing the whole zipper. However, if the teeth are damaged or the fabric around the zipper is worn out, then a complete zipper replacement is necessary.
Step 2: Remove the Old Zipper


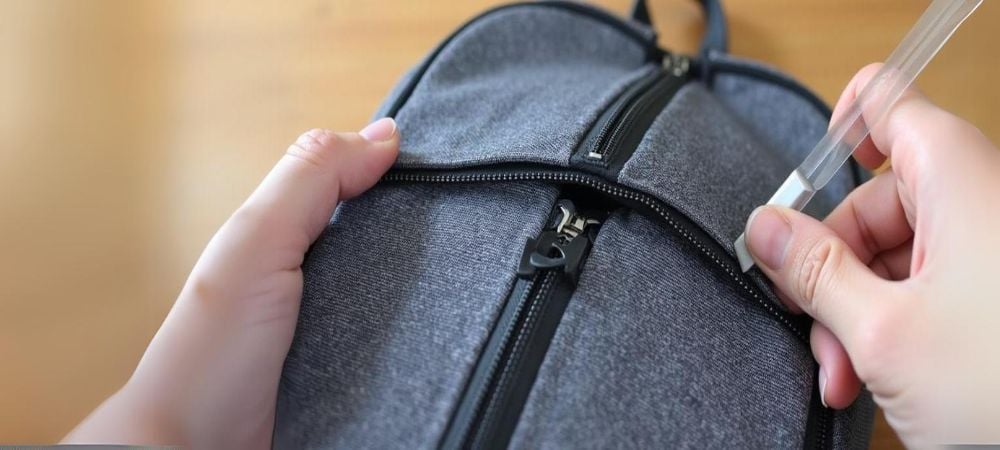
After assessing the damage, you feel that replacing the entire zipper is necessary, so start by using the seam ripper to remove the stitches holding the broken zipper in place carefully. Gently remove the stitches without damaging the fabric around them.


-
To work more efficiently, turn the backpack inside out to access the stitches more easily.
-
Insert the seam ripper into the seam holding the zipper and gently pull the thread out.
- Now, continue working along the entire length of the zipper, removing all the stitches.
Remember to be patient during the entire process and don't damage the fabric holding the zipper. Once the old zipper is removed, you can proceed to replace it with a new one easily.
Step 3: Replacing the right zipper
First of all, it is essential to get the length of the zipper that matches the old one. For this, you can bring the old zipper to the shop or measure the length with a measuring tape and then buy a new one of the same length. If you are ordering online, make sure to check the specifications.
When buying a new zipper, make sure that it is what you want. Zippers are available in a variety of styles and materials like metal, nylon, etc. Consider the material you want that matches your needs and the backpack. Before proceeding, if you’ve been wondering how to wash a backpack without damaging it or the new zipper, it’s a good idea to clean your backpack before replacing any parts to ensure a fresh start and prevent dirt from sticking to the new zipper.
Step 4: Align the New Zipper
Once you have chosen the right zipper, the next step is to align it with the original zipper placement.
- Again, turn the backpack inside out, making it visible for the replacement.
- Then, place the new zipper exactly where the old one is located. Make sure the positions are the same to avoid any inconvenience.
- After the placement, use pins to hold the zipper in exactly the same place where the previous one is located before sewing.
After this, we will proceed to the most crucial step: sewing the zipper. This article will cover a detailed explanation on the process of how to replace zipper on backpack.
Step 5: Sewing the Zipper
Once the zipper is in place and secured with pins, we will start with the most crucial step: sewing. You can either hand-sew the zipper or use a sewing machine. Most people, however, prefer sewing machines.
- The preferred thread for this is polyester or nylon. It is strong and tough. If you are sewing with your hand, thread your needle and start sewing at one end of the zipper. Insert the needle through the fabric and zipper tape. Use backstitch to create a durable seam. Continue sewing all the way along the length of the zipper. Once you have reached the end, cut any loose ends and tie a knot to secure the stitching.
- Use a zipper foot on your sewing machine if a sewing machine is being used. Start sewing from one end of the zipper and make sure to sew in a line, ensuring that the zipper and fabric stay aligned. Once finished, backstitch to keep the thread in place.
Step 6: Reinforcing the Ends
To prevent the zipper from wearing off soon, reinforce the thread Ends with double knots. Add some extra stitches. This, again, may be done either by hand or a sewing machine.
If you have a metal or a plastic stopper, secure it in place. Otherwise, you may use fabric glue over the end of the zipper to secure it.
Step 7: Testing the zipper
After sewing in the zipper, you need to test it a few times to make sure everything is fine and the zipper is in place. Look for any obstruction or irregular movement of the zipper. Ensure that the slider moves smoothly and the zipper doesn't catch any teeth. If you face any issue with the slider, search online for instructions on how to replace zipper slider on a backpack. If everything looks good, you are almost done!
Step 8: Final Touches
Check several times by moving the zipper up and down to see if there is any obstruction. Trim any loose threads or excess fabric. If any excess fabric or thread seems necessary, try to use glue to keep it in place.
Finally, turn the backpack right side out and check to see if you are done with your job. You have successfully replaced the zipper, and now your backpack is new and ready to be used again.
Tips for preventing future zipper problems


Now that you are done replacing the zipper, you may not want to face this issue again. It is a really frustrating and time-consuming process. Here are a few tips to prevent such zipper issues in the future:
- Keep the zipper clean
- Do not overstuff the backpack
- Be gentle while opening and closing the zipper
- Handle with care
Implementing these suggestions significantly minimizes the chances for the zipper to get broken again. It will increase the bag's life and help you carry out your daily tasks without any issues. To avoid future inconvenience, always go for the companies which offer after sales warranty and repair services.
Conclusion
Replacing the zipper on the backpack might seem challenging and time-consuming. However, with the right tools, method, and step-by-step approach, it is a straightforward process that anyone can do at home. This will save you not only money but also the hassle of finding a repairer for it.
By following the guidelines mentioned above, you will be able to store your backpack at home without any inconvenience. So next time your backpack zippers break, don't toss them aside. Instead search for how to replace the zipper on backpack online and you are ready.
Looking for premium laptop backpacks and confused where to buy from ? Look no more because EVERKI has a complete range of laptop backpacks according to your needs. Place your order now and enjoy premium quality laptop bags according to your laptop size.
FAQs
Q: Is replacing a zipper on a backpack really tough?
A: No, replacing a zipper on a backpack is not a difficult task. One only need the right equipment and guidelines to complete the entire task at home within 10-15 minutes.
Q: Everytime is there a need to replace the zipper?
A: Replacing a zipper might be necessary to be changed every time because a repaired zipper might cause obstruction in the movement. However, the situation must be assessed first and it maynot be essential in replacing. Sometimes, a thread can be obstructing the movement of the zipper. So always assess the situation first.


